My sister and me share the same problem - Curly fringe.
Even though rebonding treatment has gone quite cheap nowadays, but you still need a hundred to get it done. So, this time we DIY.
I have my model - Jessie, my sister. with curly hair.

The tools:
1. Straightening Flat Iron (picture is stolen from here.)

Note: The straightening iron should have an adjustable temperature control, make sure it can go up to at least 180 degree Celsius.
2. Hair Clips (picture is stolen from here.)

3. The thing that does the magic -Straightening Creams
The straightening creams that I bought from a local hair store. RM20 for cream 1 and cream 2. Damn cheap.
This is cream 1 - Strong Straightening Cream

Instruction for cream 1:

Texture of Cream 1.

This is cream 2 - Neutralizing Cream

Instruction for cream 2

Texture of cream 2.

The Steps:
The steps are actually shown at back of the creams. But here I will elaborate more.
1. On dry hair, apply cream 1 all over the hair. Cream 1 is for breaking the bond of the hair. After the bond of the hair is broken, then we can sculpt the hair to what we want it to be. Cream 1 stinks. It would be good if you use a glove during application of Cream 1. But I didnt, daring eh?
2. After applying cream 1 we need to wait for the hair to "soften". It says wait for 30 minutes at the back of cream 1. There is a tip to check whether the hair has "soften" or not. It is to take a pinch of hair, then tie the pinch of hair into a knot. If the knot does not loosen, then it means the hair has "soften". This is because if the bonds are broken, then the hair will loose its elasticity.
After application of cream 1.
3. Rinse off cream 1 (if hair has soften) without using a shampoo. Then, apply cream 2. Cream 2 is a straigthening cream that will "mold" our hair straight. In another word, Cream 2 is a super strong glue to hold the bonds of the hair.
4. After 10 minutes. Rinse off cream 2, without shampooing again.
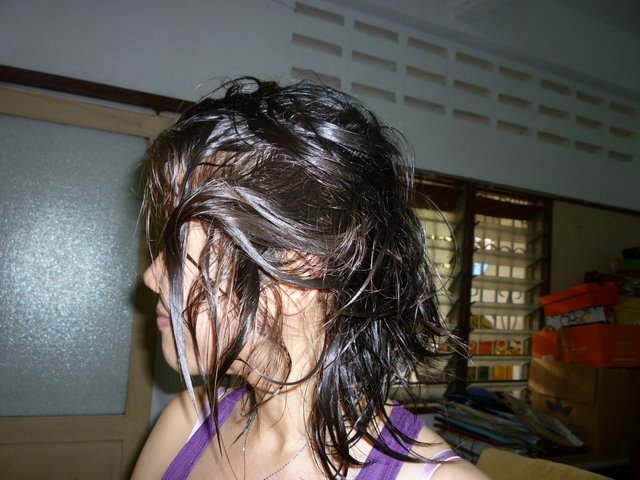
5. Blow dry hair, and then use a straightening iron to straighten the hair. The process of straightening will be a time consuming, cos we need to flat iron the hair bit by bit. I sprayed some water-based heat protector (MP Italy's, will be reviewed later) to protect the hair from extreme heat.
Voila. Done.

According to the salon, we should not wash our hair for 3 days after the rebonding.
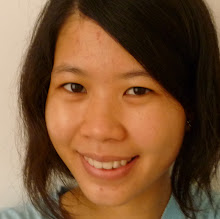
The Result:
Sis's fringe is straight. But the hair behind is not that straight because we didnt wait long enough for the cream 1 to develop. However, this DIY rebonding session definitely tidy up sis's hair a bit. Not that fluffy and stuff.
5 comments:
hello, i think your sister has the potential of becoming famous model in the future!
yes....i'm pontential model.
dear sis, u can do other experiment on me.i can test eye cream for my serious dark circle, hyration products or even slimming products...hehe
Hi, may i know where can i buy this rebonding cream? I'm from penang. Please advise. Thank you! =D
Hi Anonymous, sorry for late reply...The rebonding cream you can buy it from any hair beauty shop. For this cream, I bought it from a shop called Alen (next to Maybank) at Queensbay Mall. Hope it is not too late to reply you on this :)
Hi, I think you might have hair ironed at the wrong step.
You should have straigntened before cream 2...so that it sets 'straight' shouldn't you?
Not that im an expert :)
p.s the Shiseido cream, while expensive is really good. And you get alot.
your guide helped though,
cheers
Post a Comment